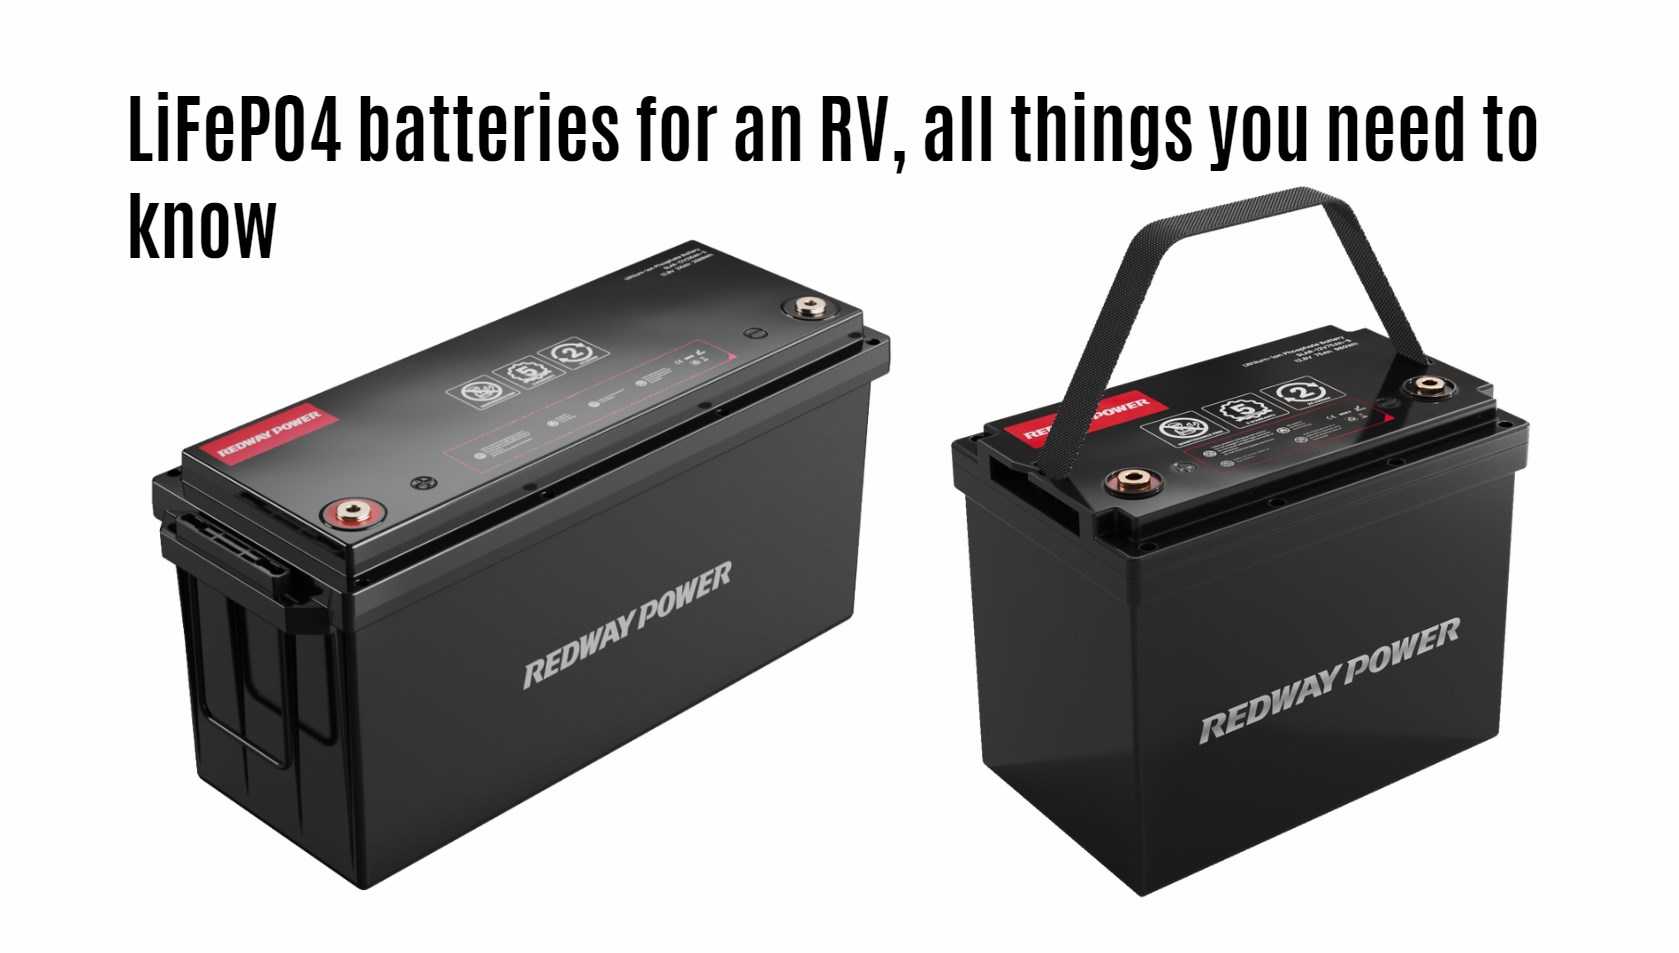
Welcome to our guide on LiFePO4 batteries for RVs! If you’re an avid RVer seeking a reliable power source for your adventures, LiFePO4 batteries might be the solution you’ve been looking for. In this comprehensive guide, we’ll delve into everything you need to know about these high-performance batteries, from installation to maintenance tips.
Why can’t you travel with lithium ion batteries?
Traveling with lithium-ion batteries is generally allowed, but precautions are necessary. For air travel, most airlines permit them in carry-on luggage but may restrict them in checked bags due to fire risk. Ensure batteries are properly protected and comply with capacity limits. For ground travel, secure mounting, ventilation, and using batteries with a built-in Battery Management System (BMS) are crucial for safety.
- Air Travel:
- Carry-On: Most airlines allow lithium-ion batteries in carry-on luggage. However, check the airline’s guidelines for specific rules.
- Checked Luggage: Some airlines restrict or prohibit lithium-ion batteries in checked baggage due to fire risk.
- Capacity Limits: Batteries exceeding a certain watt-hour (Wh) capacity may require approval or special handling.
- Terminal Protection: Cover battery terminals to prevent short circuits.
- Ground Travel (RVs, Cars):
- Secure Mounting: Securely mount lithium batteries to prevent movement during travel.
- Ventilation: Ensure proper ventilation to dissipate heat generated during charging or discharging.
- BMS (Battery Management System): Use batteries with built-in BMS for safety and optimal performance.
- Temperature Range: Avoid extreme temperatures (both hot and cold) to prolong battery life.
- Safety Concerns:
- Risk of Fire: Lithium-ion batteries can catch fire if damaged, punctured, or exposed to high temperatures.
- Overcharging/Discharging: Proper charging and discharging are crucial to prevent damage.
- Short Circuits: Avoid short circuits by protecting terminals and wiring.
- Legal Restrictions:
- Some countries have specific regulations regarding lithium batteries. Research local laws before traveling internationally.
Remember to follow safety guidelines and manufacturer recommendations when traveling with lithium-ion batteries.
Why use LiFePO4 batteries for an RV?
LiFePO4 RV batteries, short for Lithium Iron Phosphate, are revolutionizing the camping industry with their numerous advantages over traditional lead-acid batteries. These batteries offer a long lifespan, exceptional performance, and incredible energy density. Unlike lead-acid batteries, LiFePO4 batteries are renowned for their safety, stability, long life cycles, and consistent performance, making them an ideal energy solution for the mobile and varying demands of RV use.
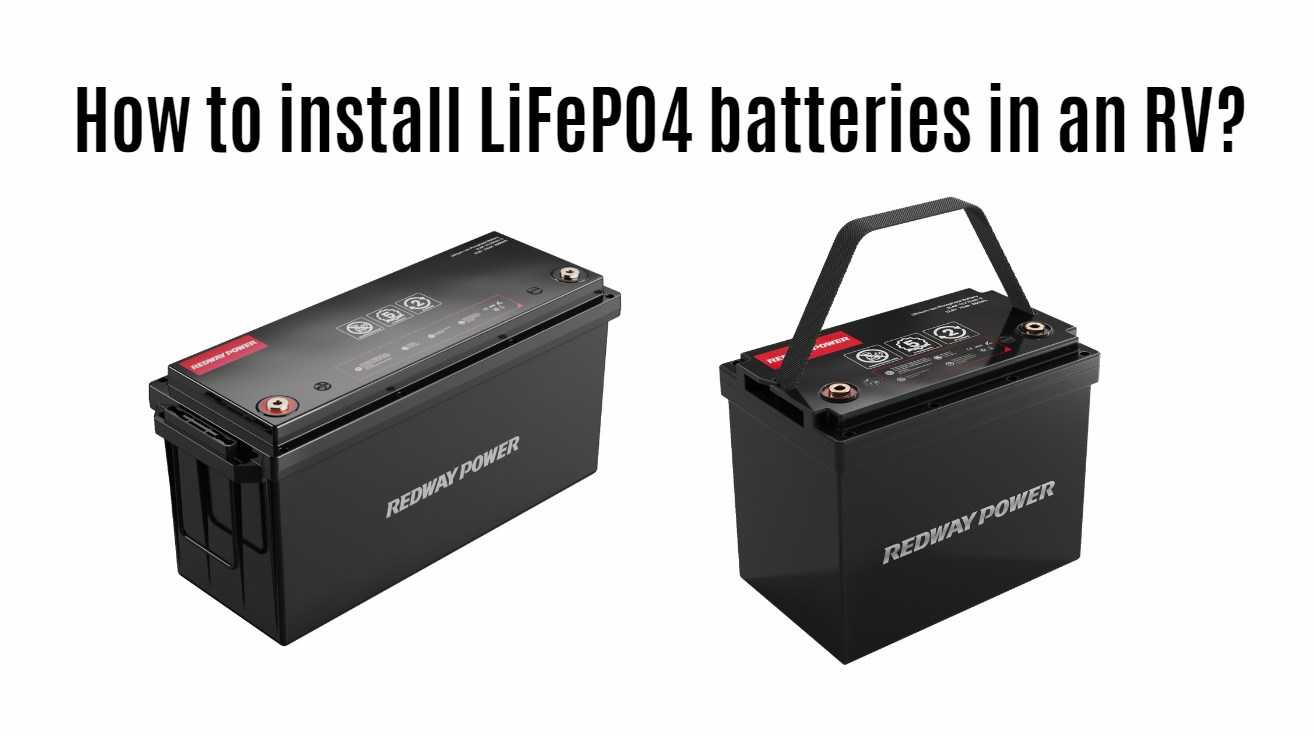
How to install LiFePO4 batteries in an RV?
Installing LiFePO4 (Lithium Iron Phosphate) batteries in an RV is a great way to enhance your power system. Here are the steps to install them:
- Choose the Right Batteries:
- Opt for LiFePO4 batteries with the same dimensions as your existing lead-acid batteries.
- Ensure they are labeled for house use (not engine starting).
- Safety Precautions:
- Disconnect power sources (generator, shore power, etc.).
- Remove jewelry before handling batteries.
- Remove Old Batteries:
- Take a picture of the wiring for reference.
- Remove old lead-acid batteries.
- Install LiFePO4 Batteries:
- Place the new lithium batteries in the same space.
- Connect them in parallel (positive to positive, negative to negative).
- Monitor and Shunt Installation:
- Install a battery monitor shunt.
- Connect the feed from the shunt to the monitor.
- Secure and Charge:
- Securely tie down wires and batteries.
- Let the batteries charge fully.
- Test and Enjoy:
- Test your generator and enjoy the benefits of lithium batteries.
Remember to follow safety guidelines and consult your RV’s manual for specific details. Happy travels!
Do LiFePO4 batteries need ventilation?
LiFePO4 batteries do not require ventilation in the same way that lead-acid batteries do. Unlike lead-acid batteries, LiFePO4 batteries are non-toxic, non-hazardous, and non-flammable. They are inherently safer and do not emit harmful gases during charging or discharging. However, it’s still essential to ensure proper installation and temperature management for optimal performance.
Can I replace a deep cycle battery with a lithium battery?
Yes, you can swap lead-acid deep cycle batteries with lithium batteries in your RV. Lithium batteries offer longer lifespan, lighter weight, deeper discharge capabilities, and faster charging. Ensure voltage compatibility, use appropriate chargers, and consider built-in Battery Management Systems (BMS). Professional installation is recommended for optimal performance and safety. Enjoy the benefits of lithium power in your RV!
- Advantages of Lithium Batteries:
- Longer Lifespan: Lithium batteries last significantly longer than lead-acid batteries.
- Lightweight: Lithium batteries are lighter, reducing overall weight in your RV.
- Deeper Discharge: Lithium batteries allow deeper discharging without harming their lifespan.
- Fast Charging: Lithium batteries charge faster than lead-acid batteries.
- Considerations:
- Voltage Compatibility: Ensure the lithium battery voltage matches your RV system (e.g., 12V, 24V, or 48V).
- Charging Profile: Use a charger compatible with lithium batteries.
- BMS Integration: Lithium batteries have built-in Battery Management Systems (BMS) for safety.
- Professional Installation:
- Consult an RV technician for proper installation and any necessary adjustments.
Enjoy the benefits of lithium power in your RV! ⚡️
How do you hook up a lithium battery to an RV?
When hooking up a lithium battery to an RV, follow these steps:
- Choose the Right Battery:
- Opt for LiFePO4 (Lithium Iron Phosphate) batteries.
- Ensure they match the dimensions of your existing lead-acid batteries.
- Disconnect Old Batteries:
- Take a picture of the wiring for reference.
- Remove old lead-acid batteries.
- Install LiFePO4 Batteries:
- Place new lithium batteries in the same space.
- Connect them in parallel (positive to positive, negative to negative).
- Monitor and Shunt Installation:
- Install a battery monitor shunt.
- Connect the feed from the shunt to the monitor.
- Secure and Charge:
- Securely tie down wires and batteries.
- Let the batteries charge fully.
- Test and Enjoy:
- Test your generator and enjoy the benefits of lithium batteries.
Remember safety precautions and enjoy your upgraded power system!


