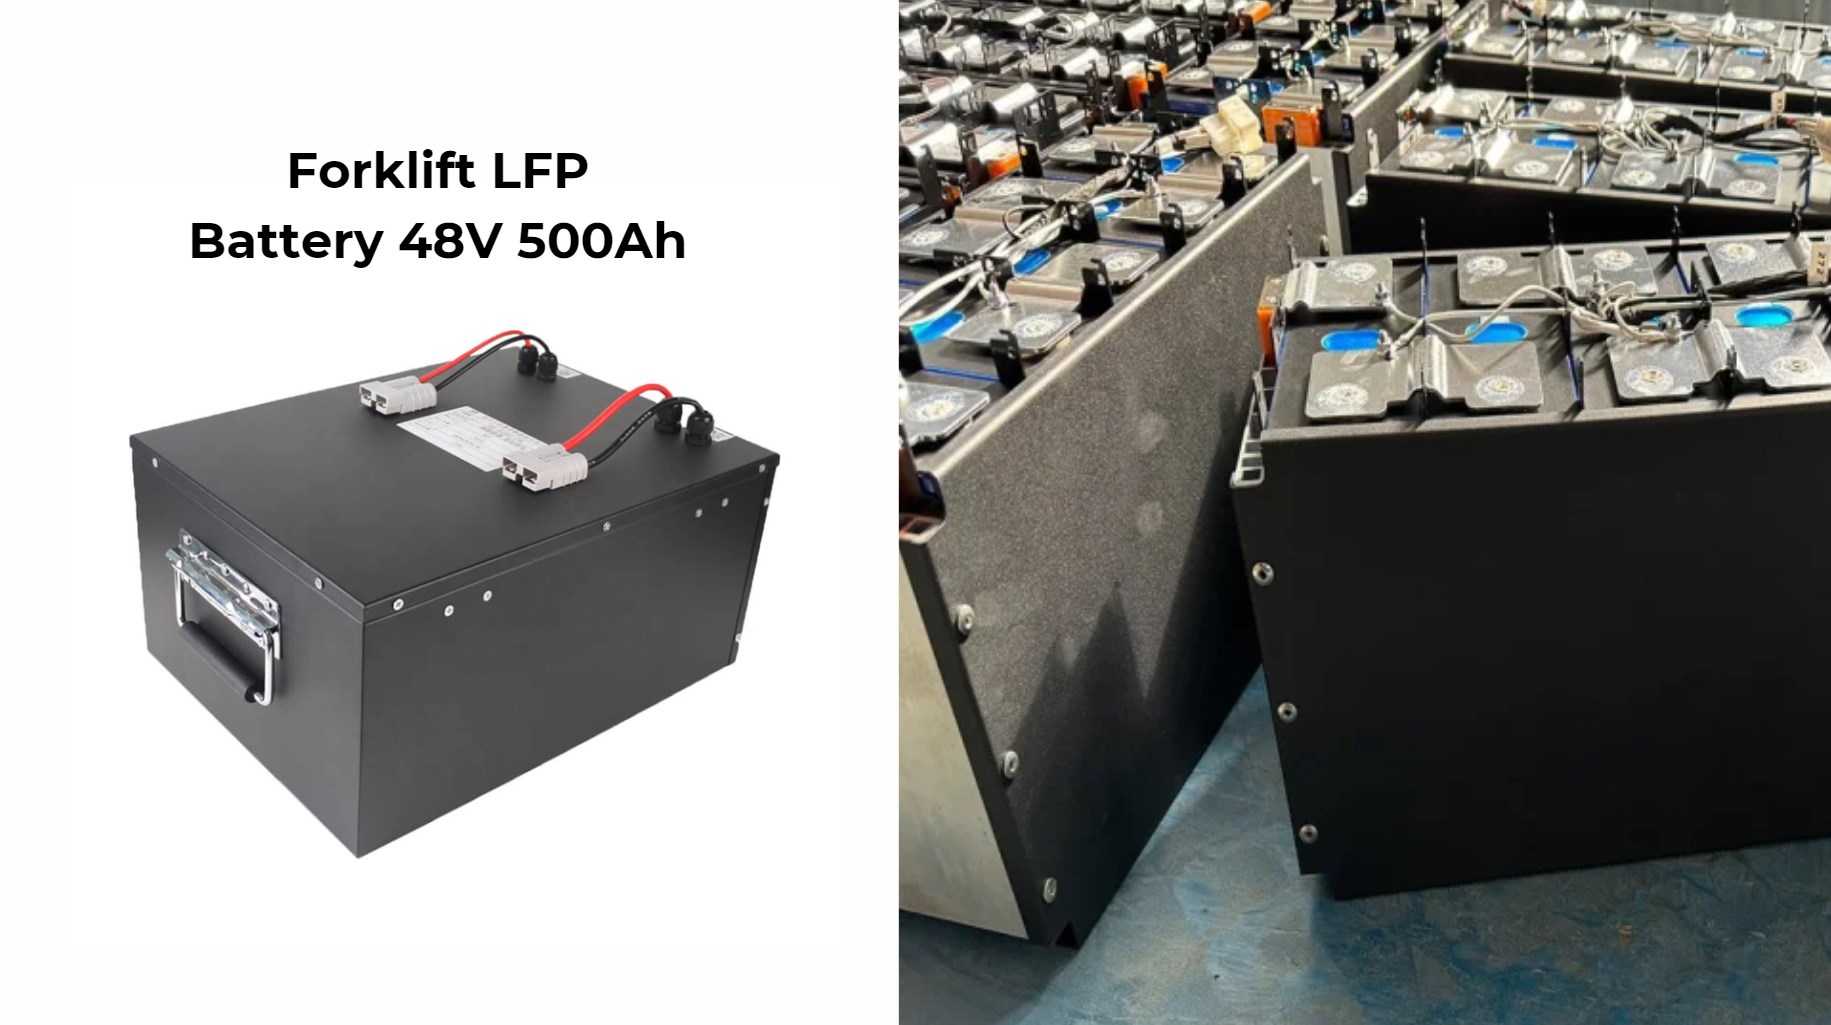
Removing a forklift battery cell requires careful attention to safety and proper procedures to avoid accidents and ensure efficiency. Essential steps include disconnecting the battery safely, using the right tools, and following a systematic approach to remove the cell without damaging surrounding components.
What are the essential safety precautions for removing a forklift battery cell?
Before removing a forklift battery cell, it’s crucial to prioritize safety. Always wear protective gear such as gloves and goggles, and work in a well-ventilated area to avoid inhaling harmful gases. Ensure that the forklift is turned off and that all power sources are disconnected to prevent electrical shocks.
| Safety Precaution | Description |
|---|---|
| Protective Gear | Use gloves and goggles to protect against acid exposure |
| Ventilation | Work in an area with good airflow to disperse fumes |
| Power Disconnection | Turn off the forklift and disconnect all power sources |
How do you properly disconnect a forklift battery before removal?
To safely disconnect a forklift battery:
Wholesale lithium golf cart batteries with 10-year life? Check here.
- Turn off the forklift and remove the ignition key.
- Start by disconnecting the negative terminal using a wrench; this reduces the risk of short circuits.
- Next, disconnect the positive terminal in the same manner.
- Ensure that cables are secured away from terminals to prevent accidental contact.
| Step | Action |
|---|---|
| 1 | Turn off the forklift |
| 2 | Disconnect negative terminal first |
| 3 | Disconnect positive terminal |
| 4 | Secure cables away from terminals |
What tools are needed to remove a forklift battery cell?
The following tools are typically required for removing a forklift battery cell:
- Wrenches: For loosening and tightening terminal connections.
- Battery Puller: To safely lift out heavy cells without risk of damage.
- Insulated Tools: To prevent electrical shocks during disconnection.
| Tool | Purpose |
|---|---|
| Wrenches | Loosening terminal connections |
| Battery Puller | Lifting out heavy battery cells |
| Insulated Tools | Preventing electrical shocks |
How do you remove the battery cell step by step?
Follow these steps to remove a forklift battery cell:
Want OEM lithium forklift batteries at wholesale prices? Check here.
- Ensure safety precautions are in place.
- Disconnect the battery as described above.
- Identify which cell needs removal based on performance tests or visual inspection.
- Loosen any connectors or bolts securing the cell using insulated tools.
- Remove any caps or covers from the cell if applicable.
- Use a battery puller to lift out the cell carefully; maintain steady lifting to avoid spills or damage.
| Step | Action |
|---|---|
| 1 | Ensure all safety measures are followed |
| 2 | Disconnect power as previously described |
| 3 | Identify faulty or damaged cell |
| 4 | Loosen connectors using insulated tools |
| 5 | Remove caps or covers if necessary |
| 6 | Use a puller to lift out the cell carefully |
What maintenance tips should be followed after removing a forklift battery?
After removing a forklift battery:
- Inspect the compartment for corrosion or damage.
- Clean any residue using a mixture of baking soda and water to neutralize acid spills.
- Check electrolyte levels in remaining cells and add distilled water if necessary.
- Ensure all connections are tight and free from corrosion before reinstalling any cells.
| Maintenance Tip | Description |
|---|---|
| Inspect Compartment | Look for signs of damage or corrosion |
| Clean Residue | Neutralize acid spills with baking soda solution |
| Check Electrolyte | Maintain proper levels in remaining cells |
How can you ensure safe disposal of forklift batteries?
Proper disposal of forklift batteries is essential due to their hazardous materials:
- Follow local regulations regarding hazardous waste disposal.
- Take batteries to designated recycling centers that accept lead-acid or lithium-ion batteries.
- Never dispose of batteries in regular trash as they can leak harmful substances into the environment.
Expert Opinions:
“Removing a forklift battery cell requires not only technical skill but also strict adherence to safety protocols,” states an expert at Redway Tech. “Proper training and understanding of equipment can significantly reduce risks associated with handling heavy batteries.”
Conclusion
In conclusion, safely removing a forklift battery cell involves careful preparation, appropriate tools, and adherence to safety measures. By following systematic steps and maintaining proper practices during removal and disposal, you can ensure both your safety and that of your equipment.
FAQ
- What should I do if I encounter corrosion on my battery terminals?
Clean corrosion using a mixture of baking soda and water; ensure terminals are dry before reconnecting. - How often should I check my forklift batteries?
Regular inspections should be conducted every month or before heavy usage periods. - Is it safe to work on batteries without protective gear?
No, always wear protective gear when handling batteries to prevent injury from acid exposure or electrical shock. - Can I replace just one cell in my forklift’s battery?
Yes, individual cells can be replaced if they are faulty, but ensure compatibility with existing cells. - What is the best way to transport removed batteries?
Use appropriate containers designed for hazardous materials during transport to prevent leaks and spills.


