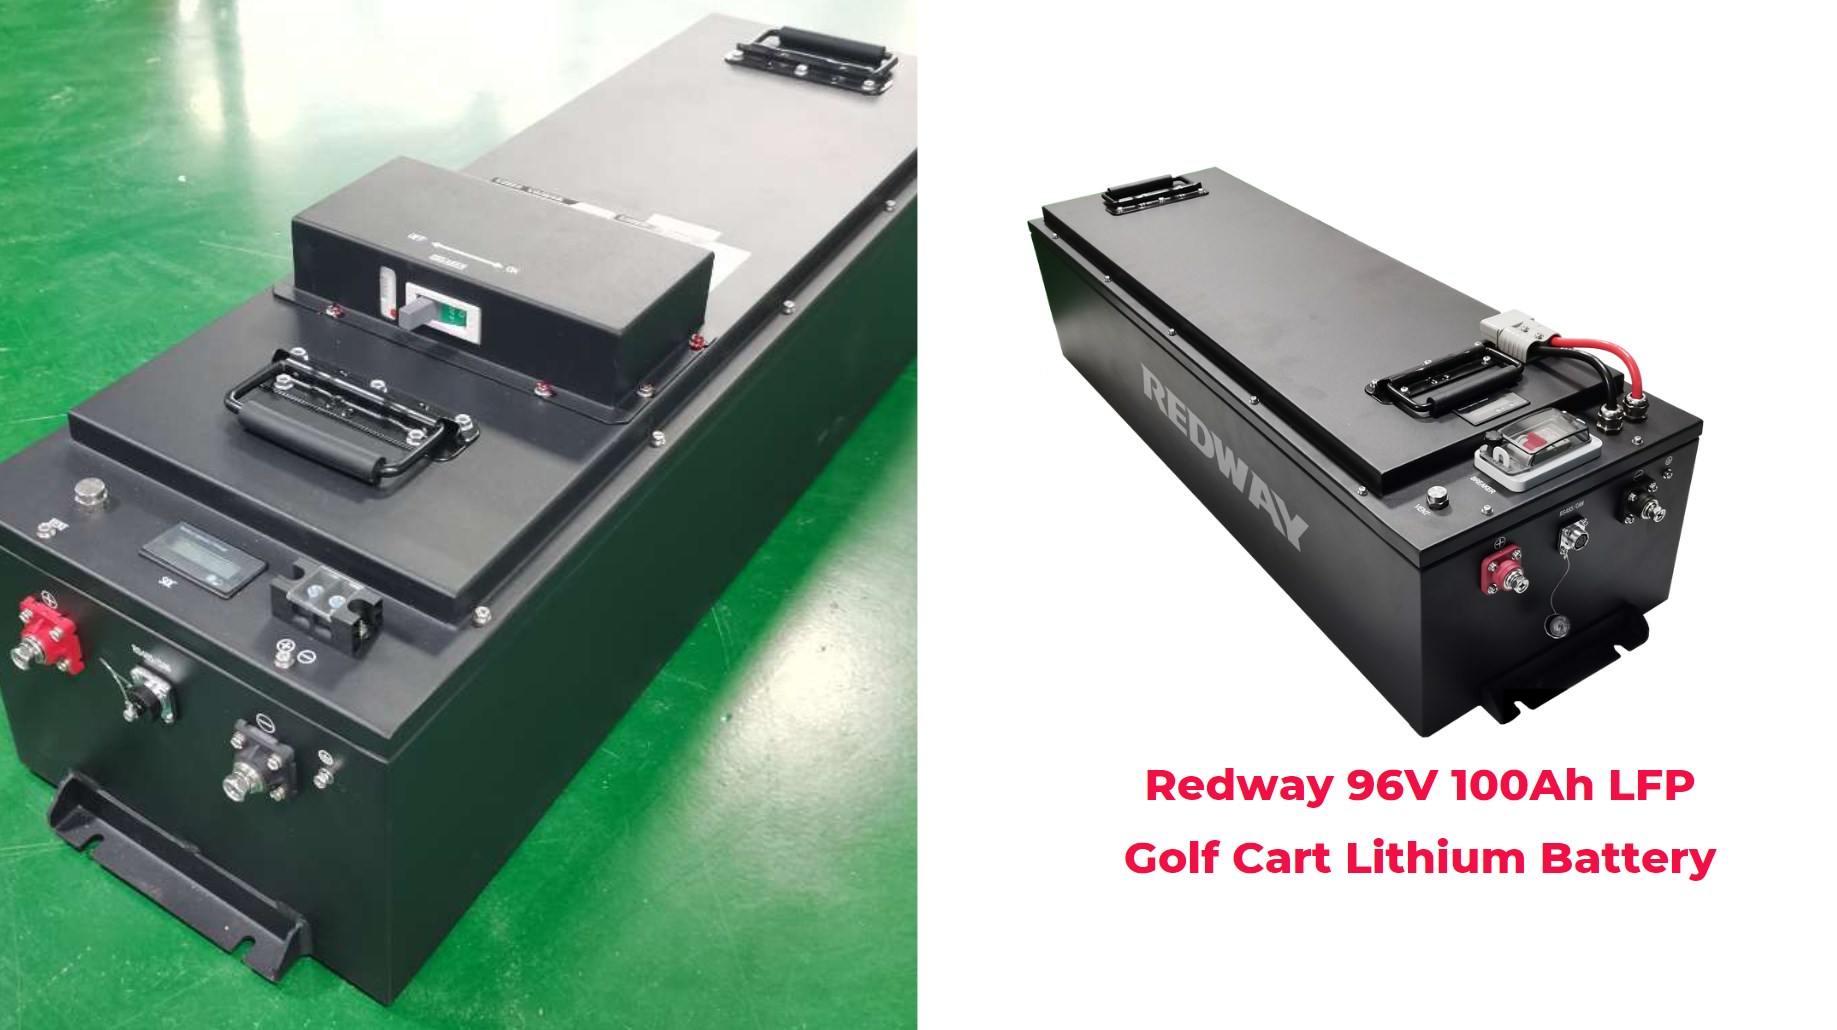
Installing LiFePO4 batteries in a golf cart offers a safer, lighter, and more efficient alternative to traditional lead-acid batteries. These lithium iron phosphate batteries provide longer lifespan, faster charging, and consistent power output. Proper installation ensures optimal performance, durability, and safety, making your golf cart more reliable and cost-effective over time.
Why Should You Upgrade to LiFePO4 Batteries in Golf Carts?
Upgrading to LiFePO4 batteries enhances golf cart efficiency and user experience. These batteries provide a longer lifespan of up to 10–15 years, significantly outperforming the typical 3–5 years of lead-acid batteries. Their lighter weight improves handling and acceleration, while faster charging reduces downtime, allowing for more consistent and reliable operation on the course.
| Feature | LiFePO4 | Lead-Acid |
|---|---|---|
| Lifespan | 10–15 years | 3–5 years |
| Weight | Lighter, improves handling | Heavier, reduces efficiency |
| Charging Time | 1–3 hours | 8–14 hours |
| Maintenance | Minimal | Regular watering and terminal cleaning |
What Tools Do You Need for Installation?
Proper tools simplify the installation process and ensure safety. Essential equipment includes:
Wholesale lithium golf cart batteries with 10-year life? Check here.
-
Socket wrenches and screwdrivers for mounting and connections
-
Battery cables and connectors
-
Multimeter for voltage verification
-
Insulation materials, such as heat shrink tubing
-
Safety gear including gloves and goggles
Having all tools prepared in advance reduces errors and improves installation efficiency.
How Do You Prepare Your Golf Cart for LiFePO4 Battery Installation?
Preparation is critical for safety and performance. Begin by turning off the cart and disconnecting all power sources. Remove old batteries carefully and clean the battery compartment to remove corrosion or debris. Confirm compatibility with lithium technology by reviewing the cart and battery manufacturer’s guidelines.
Want OEM lithium forklift batteries at wholesale prices? Check here.
Steps:
-
Disconnect the old battery system safely.
-
Clean the battery compartment thoroughly.
-
Verify space and ventilation for the new battery.
What Are the Steps for Installing LiFePO4 Batteries?
Installing LiFePO4 batteries involves:
-
Powering down the golf cart.
-
Removing old lead-acid batteries.
-
Positioning the new LiFePO4 battery securely.
-
Connecting the positive terminal first, followed by the negative.
-
Securing all connections and testing the system.
When installing multiple batteries, connect positive terminals to positive and negative to negative, ensuring alignment with the wiring diagram.
How Do You Connect the Batteries Properly?
Correct connections prevent electrical issues. Attach the positive terminal first (red) and then the negative (black). Tighten connections according to manufacturer specifications, using a torque wrench if needed. For multiple batteries, parallel connections are preferred to increase capacity while maintaining proper voltage.
What Safety Precautions Should Be Taken During Installation?
Safety is paramount:
-
Wear gloves and goggles at all times.
-
Ensure the cart is off before handling wires.
-
Avoid short circuits by keeping terminals and wires clear.
-
Work in a well-ventilated area.
Following these precautions reduces risk and ensures a safe installation.
How Do You Test the Installation After Completion?
After installation:
-
Power on the golf cart and verify smooth operation.
-
Check all electrical components, including lights and accessories.
-
Use a multimeter to confirm correct voltage across terminals.
-
Conduct a short test drive to ensure performance under load.
Monitoring the system immediately identifies potential issues.
What Common Mistakes Should Be Avoided During Installation?
Common errors include:
-
Connecting terminals in the wrong order, causing short circuits.
-
Leaving connections loose, leading to energy loss or overheating.
-
Skipping manufacturer guidelines, which can void warranties.
-
Ignoring compatibility checks with accessories and chargers.
Double-checking each step prevents costly mistakes.
How Do You Maintain LiFePO4 Batteries After Installation?
Proper maintenance ensures longevity:
-
Inspect connections regularly for corrosion or looseness.
-
Avoid overcharging and deep discharges.
-
Store batteries in a cool, dry environment when not in use.
-
Monitor charge cycles with an appropriate charger and, if available, a State of Charge (SOC) meter.
These practices help maximize lifespan and performance.
What Are the Indicators of a Successful Installation?
A successful LiFePO4 installation is confirmed by:
-
Smooth operation of the golf cart with consistent power output.
-
No error messages or alerts on the display.
-
Secure, tight connections without loose wires.
-
Proper functioning of all electrical components during operation.
Redway Expert Views
Switching to LiFePO4 batteries transforms golf cart performance by delivering consistent power, reducing maintenance, and extending lifespan,” explains a specialist from Redway Battery. “Careful installation and adherence to safety standards allow users to maximize battery efficiency while ensuring long-term reliability, making it an ideal upgrade for both recreational and commercial applications.”
Conclusion
Installing LiFePO4 batteries in golf carts provides significant benefits in performance, weight reduction, and maintenance. Following structured installation steps—preparation, secure connections, proper testing, and ongoing maintenance—ensures long-term reliability. Redway Battery’s solutions offer durable, safe, and high-performance options for those upgrading to lithium technology, making the investment both practical and efficient.
FAQs
What tools do I need to install LiFePO4 batteries?
Essential tools include wrenches, screwdrivers, battery cables, a multimeter, and protective gear.
Can I install LiFePO4 batteries myself?
Yes, provided you follow safety guidelines and manufacturer instructions carefully.
How often should I maintain my LiFePO4 batteries?
Perform inspections every few months, or more frequently for heavy usage, to check connections and battery health.
What makes LiFePO4 batteries better than lead-acid?
They offer longer lifespan, lighter weight, faster charging, and require minimal maintenance.
Do I need a special charger for LiFePO4 batteries?
Yes, lithium-specific chargers are recommended to prevent overcharging and maximize battery life.


