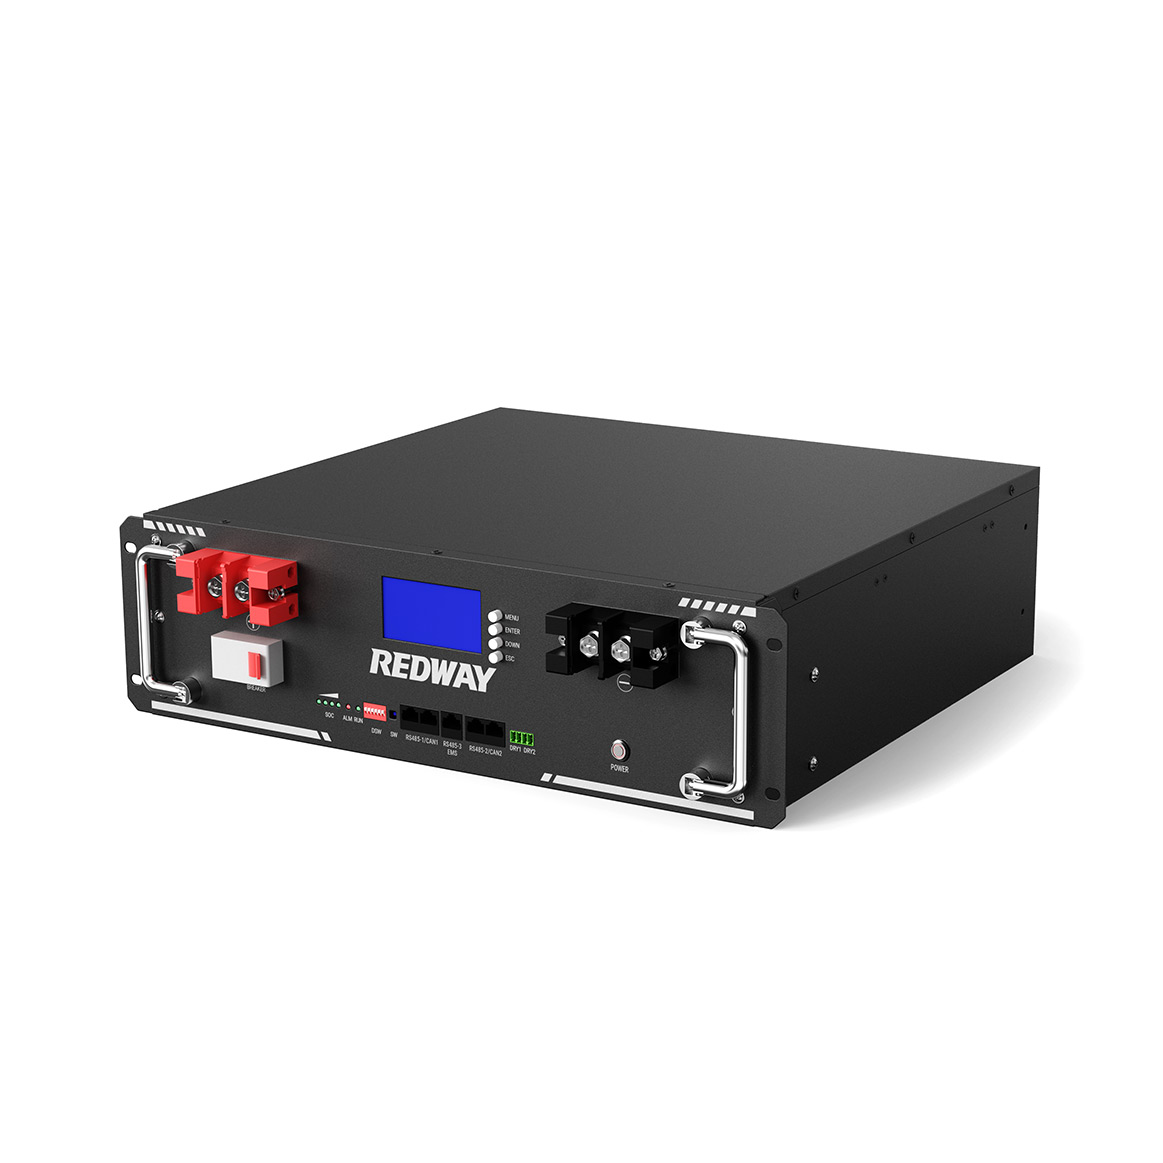
Installing a power storage wall battery is a crucial step towards enhancing your home’s energy efficiency and sustainability. Proper installation ensures optimal performance and longevity of the battery system. In this article, we will outline the essential steps to properly install a power storage wall battery in your home.
1. Assess Your Energy Needs
Before installation, it’s essential to evaluate your energy requirements. This assessment will help determine the appropriate battery capacity for your household.
- Calculate Energy Consumption: Review your utility bills to understand your average energy usage.
- Consider Future Needs: Factor in potential changes, such as additional appliances or electric vehicle charging.
2. Choose the Right Location
Selecting an appropriate location for your power storage wall battery is vital for safety and performance.
- Indoor or Outdoor Installation: Determine whether the battery will be installed indoors or outdoors. Indoor installations require adequate ventilation, while outdoor units should be weatherproof.
- Accessibility: Ensure the location is accessible for maintenance and monitoring.
- Avoid Direct Sunlight: Keep the battery away from direct sunlight and extreme temperatures to prolong its lifespan.
3. Gather Necessary Tools and Materials
Before beginning the installation, gather all required tools and materials. Common tools may include:
- Drill and Drill Bits
- Screwdriver
- Wrenches
- Level
- Safety Gear (gloves, goggles)
4. Prepare the Wall and Mounting Bracket
Ensure the wall is suitable for mounting the battery. A solid wall is essential for supporting the weight of the battery.
- Install the Mounting Bracket: Use a level to position the mounting bracket accurately. Secure it to the wall with appropriate fasteners, ensuring it can support the battery’s weight.
5. Connect Electrical Components
Electrical connections are critical for the battery’s functionality. If you’re not comfortable with electrical work, consider hiring a licensed electrician.
- Turn Off Power: Always turn off the power supply before making any electrical connections.
- Follow Manufacturer Instructions: Adhere to the specific wiring diagrams provided by the battery manufacturer.
- Connect to the Inverter: If your battery system is part of a solar setup, connect it to the inverter following the manufacturer’s guidelines.
6. Secure the Battery to the Mounting Bracket
Once the electrical connections are made, carefully lift the battery and secure it to the mounted bracket.
- Ensure Stability: Double-check that the battery is firmly attached to the bracket and that all connections are secure.
- Check for Levelness: Use a level to confirm that the battery is installed evenly.
7. Configure the Battery Management System
Many modern power storage wall batteries come with a battery management system (BMS) that requires configuration.
- Set Charging Parameters: Follow the manufacturer’s instructions to set optimal charging and discharging parameters based on your energy usage and solar generation.
- Connect to Monitoring Systems: If applicable, connect the battery to any home energy management systems for real-time monitoring.
8. Conduct a Final Inspection
Before activating the battery, conduct a thorough inspection of the installation.
- Check Connections: Ensure all electrical connections are secure and insulated.
- Look for Damage: Inspect the battery and mounting area for any signs of damage or instability.
9. Activate the Battery
Once everything is properly installed and inspected, you can activate the battery.
- Turn on the Power: Restore power to the system and check for any error messages or warnings on the battery management system.
- Monitor Performance: Initially monitor the battery’s performance to ensure it’s functioning as expected.
10. Regular Maintenance
After installation, regular maintenance is essential for longevity and efficiency.
- Periodic Checks: Regularly inspect the battery for any signs of wear, corrosion, or damage.
- Clean the Area: Keep the installation area clean and free of debris to ensure optimal airflow.
Conclusion
Proper installation of a power storage wall battery is crucial for maximizing its performance and efficiency. By following these steps, homeowners can ensure a successful installation that contributes to a more sustainable energy future. At Redway Battery, we specialize in providing high-quality Lithium LiFePO4 batteries designed for optimal performance and reliability. Contact us today for tailored solutions to meet your energy needs!
FAQs
What safety precautions should I take when installing a power storage wall battery?
When installing a power storage wall battery, ensure you wear appropriate personal protective equipment (PPE), such as gloves and safety goggles. Follow the manufacturer’s installation guidelines, ensure proper ventilation, and keep the area clear of flammable materials. Additionally, confirm that all electrical connections comply with local codes and regulations.How do I ensure the battery is properly secured to the wall?
To secure the battery properly, use appropriate mounting brackets or hardware specified by the manufacturer. Ensure that the wall is structurally sound and can support the weight of the battery. Use a level to align the battery correctly, and double-check all fasteners to ensure they are tight and secure.What tools are essential for installing a power storage wall battery?
Essential tools for installing a power storage wall battery include a drill with appropriate bits, a level, a socket set or wrenches, screwdrivers, and wire strippers. Additionally, having a multimeter for electrical testing and safety equipment like gloves and goggles is important.How do I connect the battery to the electrical system in my home?
To connect the battery to your home’s electrical system, follow these general steps:
- Turn off all power at the main breaker panel.
- Connect the battery’s inverter to the designated circuit breaker in your panel.
- Ensure proper grounding and follow wiring diagrams provided by the manufacturer.
- Turn on power slowly and monitor for any issues during startup.
What are the common mistakes to avoid during battery installation?
Common mistakes to avoid during installation include failing to read and follow the manufacturer’s instructions, neglecting proper grounding, not securing connections tightly, overlooking ventilation requirements, and attempting to install without adequate knowledge of electrical systems. Always consult a professional if unsure about any step in the process.