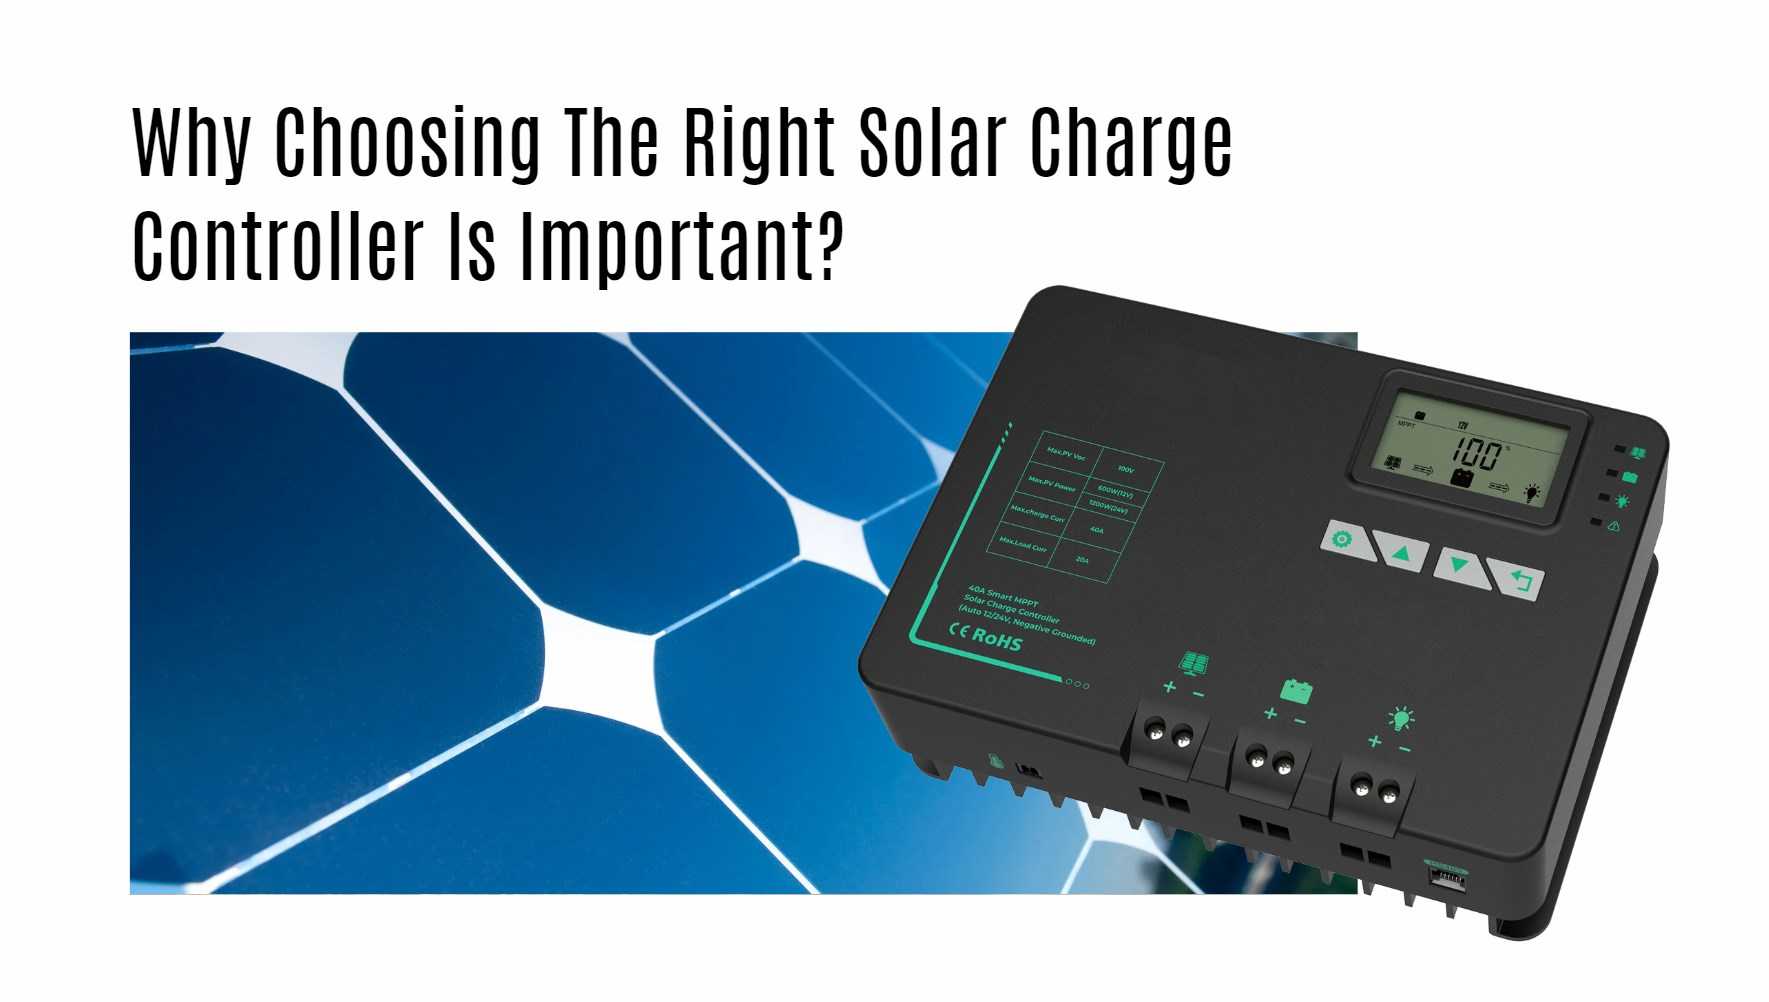
Selecting the optimal solar charge controller is paramount for maximizing the efficiency and longevity of your solar energy system. In this guide, we delve into the crucial factors that should influence your decision, ensuring seamless integration and enhanced performance.
Understanding Solar Charge Controllers
Solar charge controllers are essential components that regulate the voltage and current from solar panels to the battery bank. They prevent overcharging and ensure efficient battery charging, thereby protecting your battery investment and optimizing energy utilization.
Key Factors to Consider
1. Battery Bank Voltage Compatibility
The voltage of your battery bank is a fundamental consideration when selecting a charge controller. Whether your system operates at 12V, 24V, 36V, or 48V, choosing a controller that matches this voltage ensures optimal performance and longevity of your batteries.
Wholesale lithium golf cart batteries with 10-year life? Check here.
2. Input Voltage Capacity from Solar Panels
The input voltage from solar panels varies based on factors like temperature and sunlight intensity. It’s crucial to choose a charge controller with an input voltage capacity that comfortably exceeds the maximum voltage your panels can generate. This prevents damage to the controller and ensures reliable operation under diverse weather conditions.
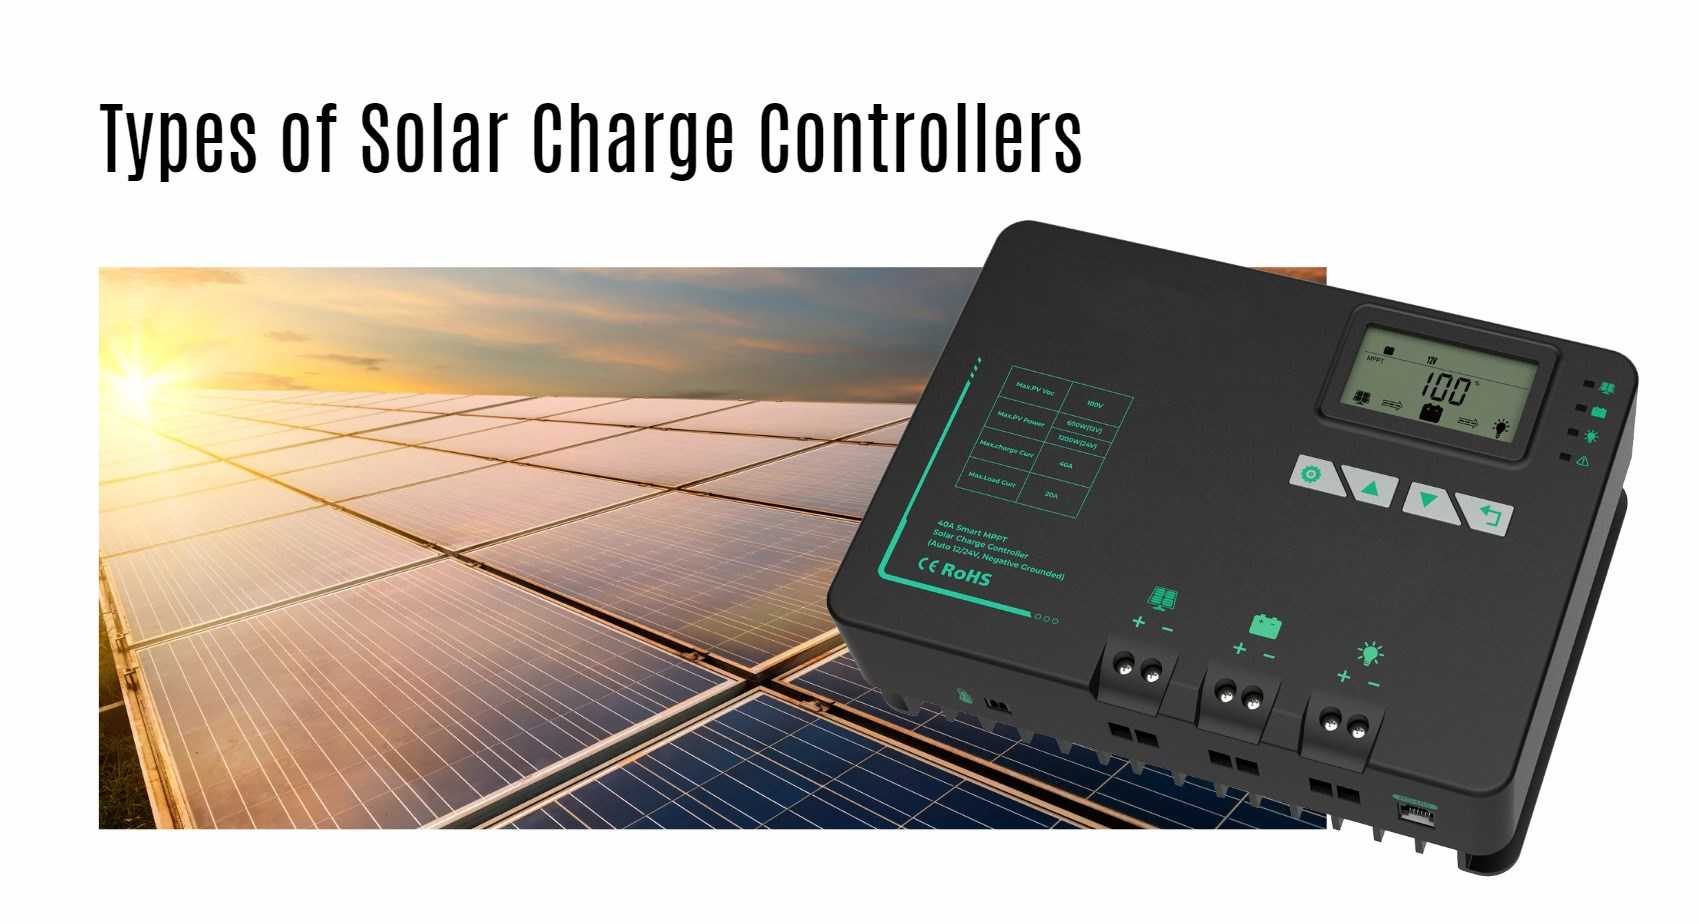
Types of Solar Charge Controllers
There are primarily two types of solar charge controllers:
Want OEM lithium forklift batteries at wholesale prices? Check here.
- PWM (Pulse Width Modulation): Ideal for smaller systems and cost-effective solutions.
- MPPT (Maximum Power Point Tracking): Offers higher efficiency by dynamically adjusting the voltage and current to maximize power output.
MPPT vs. PWM: Which One Fits Your Needs?
MPPT controllers are preferred for larger systems or where space and efficiency are critical. They can boost charging efficiency by up to 30% compared to PWM controllers, making them suitable for installations where maximum power extraction is desired.
Calculating Output Current Rating
Determining the correct output current rating ensures that the charge controller can handle the power demands of your system without overheating or performance degradation.
Steps to Calculate Output Current:
- Total Solar Array Wattage: Sum the wattage of all solar panels in your array.
- Battery Bank Voltage: Identify the voltage rating of your battery bank.
- Divide Total Wattage by Battery Bank Voltage: This calculation yields the output current required to charge your batteries optimally.
Best Practices for Installation and Maintenance
Installing your solar charge controller correctly is crucial for its performance and longevity. Follow these best practices:
- Proper Ventilation: Ensure adequate airflow around the controller to prevent overheating.
- Secure Mounting: Install the controller in a cool, dry location away from direct sunlight.
- Regular Inspections: Periodically check connections and clean panels to maintain efficiency.
Conclusion
Choosing the right solar charge controller involves understanding your system’s voltage requirements, considering input voltage from solar panels, and calculating the output current needed for efficient charging. By adhering to these guidelines, you ensure seamless integration, maximize energy harvest, and extend the lifespan of your solar energy system.
12V Solar Charge Controller Buyers Guide – Beginner Friendly!


